Rotate Image Free Online, No Signup
Turn a photo 90° with one click, flip it, or dial in an exact angle to straighten a tilted horizon. The preview updates live, and the download is ready as PNG or JPEG. Everything happens in this tab.
Rotate your image
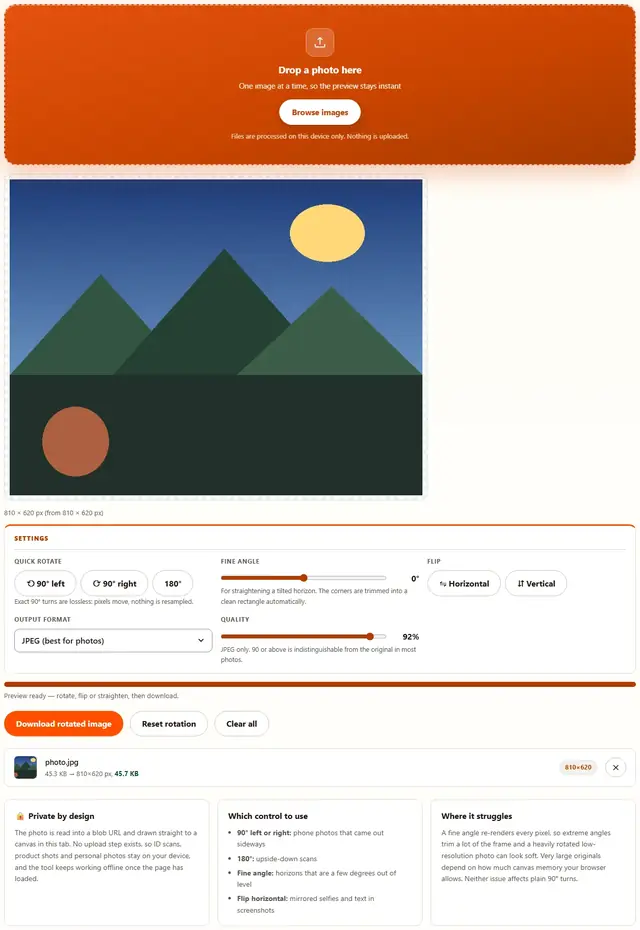
Drop a photo here
One image at a time, so the preview stays instant
Files are processed on this device only. Nothing is uploaded.
Exact 90° turns are lossless: pixels move, nothing is resampled.
For straightening a tilted horizon. The corners are trimmed into a clean rectangle automatically.
JPEG only. 90 or above is indistinguishable from the original in most photos.
Image Rotate — illustrated, step by step
How to rotate an image
Three steps, no accounts, no watermarks on the output.
Drop your photo
Drop a JPG, PNG or WebP on the box, or click Browse. The image appears in the preview immediately, upright and ready to turn.
Turn it or straighten it
Click 90° left or right for a quarter turn, or drag the fine angle slider to level a tilted horizon. Flip buttons mirror the picture, and every control updates the preview live.
Download
The row under the preview shows the new pixel size and the exact file weight. One click saves the rotated image; nothing is uploaded anywhere.
Why rotate in the browser?
A rotate is often the first thing you do to a photo you have not shared yet. Keeping the edit in the tab means the original never touches a server, there is no queue and no account, and the result is ready the moment you click. Details are in our file-handling policy.
Troubleshooting
Are my photos uploaded when I rotate them?
No. The file is read into the page with a blob URL and drawn straight to a canvas in this tab. There is no upload endpoint in the tool, so a rotate never sends your photo anywhere and the page keeps working offline after it loads.
How do I straighten a tilted photo?
Use the fine angle control under the rotate buttons and nudge it a few degrees until the horizon looks level. The preview updates as you drag. Because a rotated image is re-rendered, the tool trims the empty corners automatically if you turn on Straighten crop, so you get a clean rectangle instead of transparent wedges.
Why does a rotated image come out smaller?
Rotating by a non-90° angle always needs a larger canvas to hold the tilted rectangle, and the visible part is the largest axis-aligned rectangle inside it. 90° and 180° turns are lossless: the pixels simply move, with no resampling and no size loss.
Can I flip a photo instead of rotating it?
Yes. Flip horizontal mirrors the image left to right, which is the fix for a selfie taken in a front-facing camera, and Flip vertical turns it upside down in one axis. Both are exact pixel moves and can be combined with a rotation before you download.
PNG or JPEG for a rotated photo?
JPEG for photographs: it weighs far less at the same visual quality. PNG when the image has transparency you need to keep, or when rotating by an odd angle would let JPEG smear the sharp edges where the trimmed corners meet the picture.
Does rotating remove the GPS and camera data?
Yes. The output is re-encoded from canvas pixels, so EXIF metadata including location, camera serial and capture time is dropped. That is usually desirable, but if you need the metadata preserved, keep the original file alongside the rotated copy.
Straightening a photo without losing the frame
Ninety degree turns get all the attention because they are the ones phone cameras get wrong, but the fine angle slider is the control that saves photos. A horizon that is two degrees out of level looks wrong in a landscape even when nobody can say why, and the fix is a two degree counter-rotation. Drag the slider slowly and watch the horizon line rather than the edges of the picture.
The trade-off is geometry: rotating by an angle tilts the rectangle, and the largest clean rectangle that fits back inside it gets smaller as the angle grows. At five degrees the loss is barely noticeable; at thirty it is dramatic. That is why the tool trims the empty corners for you rather than leaving transparent or white wedges, and why small corrections work far better than large ones.
| Situation | Control | Pixel loss |
|---|---|---|
| Photo came out sideways | 90° left or right | None — lossless turn |
| Scan is upside down | 180° | None |
| Horizon slightly tilted | Fine angle, 1–5° | Barely noticeable |
| Strong creative tilt | Fine angle, 10°+ | Substantial, by design |
| Mirrored selfie | Flip horizontal | None |
Rotate, crop and resize: which tool does what
Rotate changes the orientation only: the same photo, turned. Crop removes the parts of the frame you do not want, which is what the corner trim on a fine rotation does automatically. Resize changes the pixel dimensions of the result, which matters when a site enforces a specific width.
Most corrections are rotate first, then crop if the trim left an area you would rather cut by hand, and finish with the Image Compressor when a site enforces a kilobyte limit. If the photo needs its framing changed before the turn, start with Crop Image and rotate the crop instead.
Rotated it, now make it smaller?
The Image Compressor shrinks photos with a quality slider and shows you the exact bytes saved: same privacy, same speed.
Open Image Compressor